How to set up a Tuft the World Instant Tufting FrameUpdated 4 years ago
Check out this video for a step-by-step demonstration of how to set up our Instant Tufting Frame, or scroll down for written instructions. Interested in building your own tufting frame? Check out our recommendations here.
The following instructions are included with the Tuft the World Instant Tufting Frame and Tufting Starter Kit:
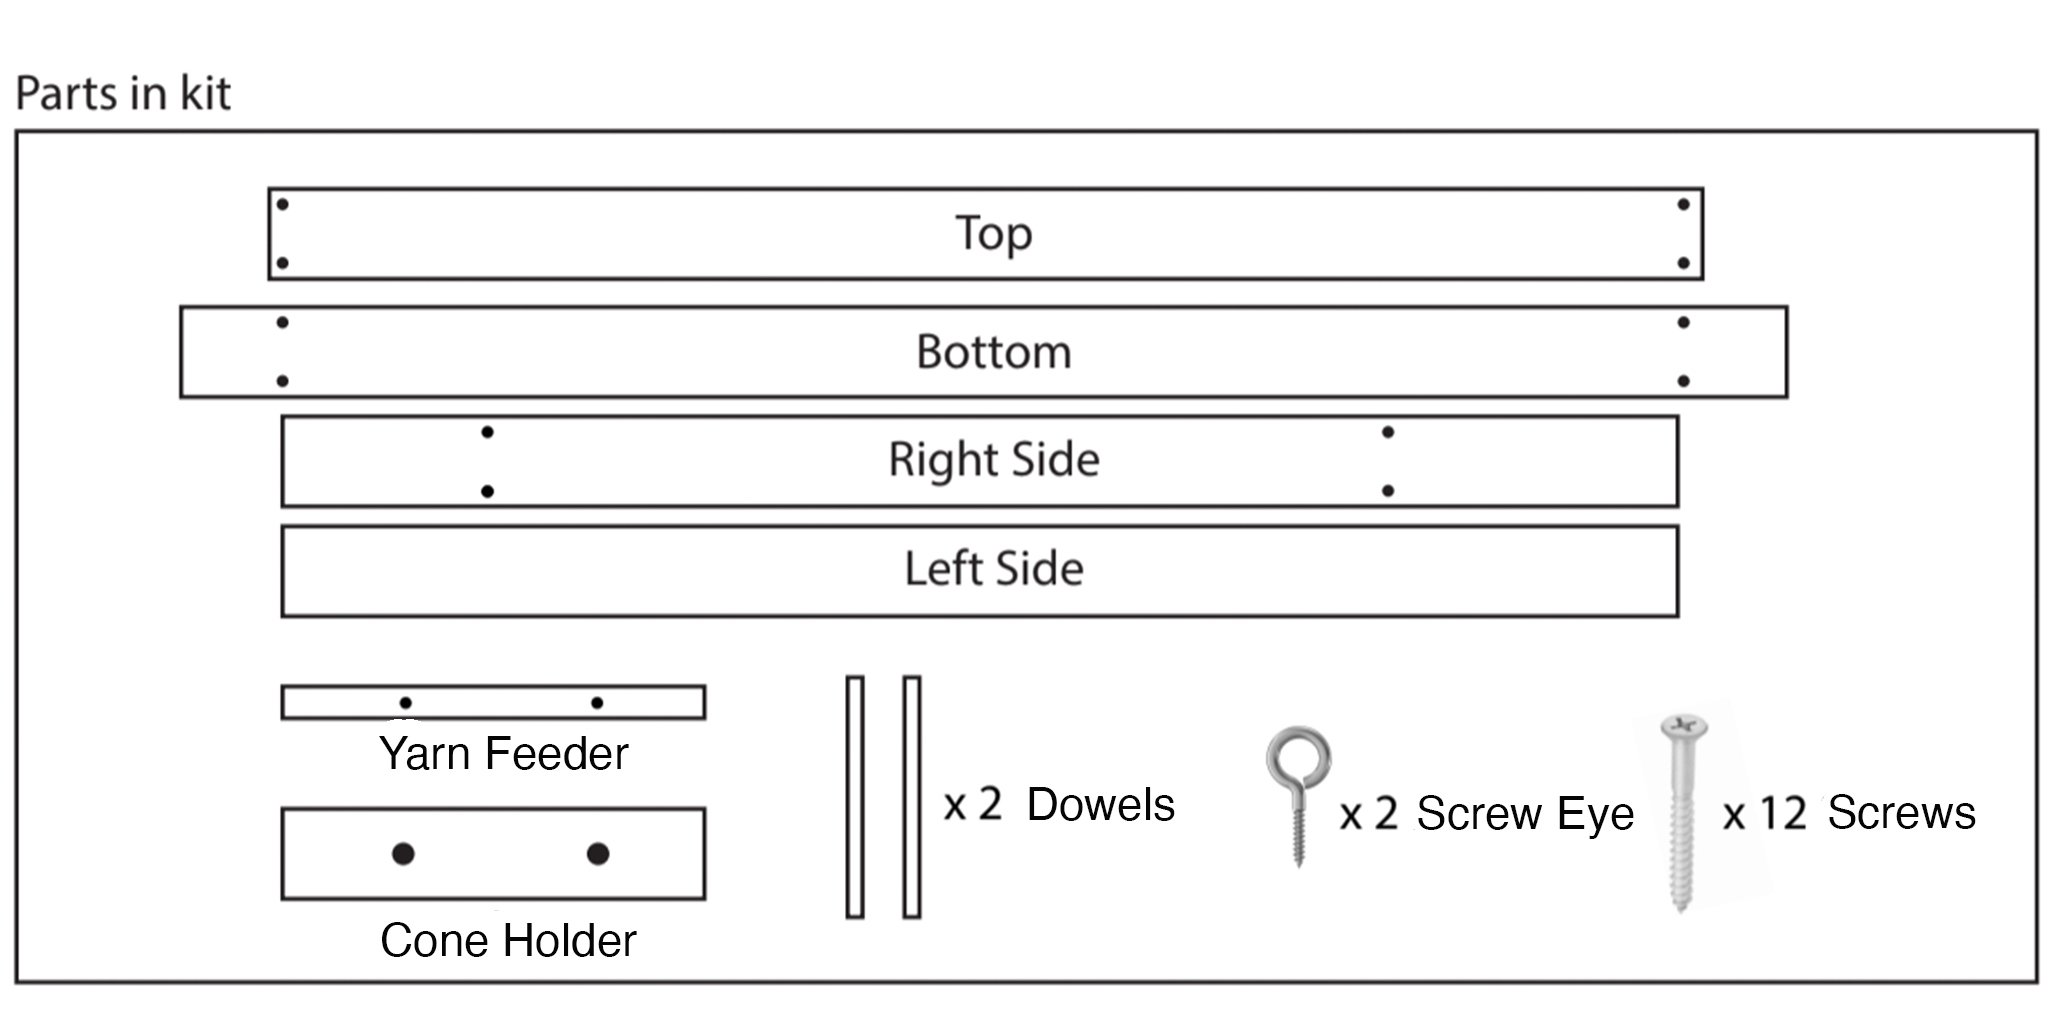
1. Lay wooden pieces on their edges in the shape of the frame with tack points facing up.
- Make sure the right and left boards are in the correct position.
- The right side board has 4 holes drilled in the face.
2. Use a hand drill with a Philips head driver to screw the four frame boards together along the pre-drilled holes in the top and bottom pieces.
3. Attach screw eyes to the yarn feeder using pre-drilled holes.
4. Attach the cone holder and yarn feeder on the right side of the frame.
- Cone holder attaches with pre-drilled holes on the right board, 4” up from the bottom of the frame.
- Yarn feeder attaches 4” from the top of the frame.
5. Place dowels in corresponding holes on the cone holder.
6. Clamp frame to the edge of any sturdy table using adjustable clamps (purchased separately). We recommend c-clamps or bar clamps, available at any hardware store.
*Arrows on the diagram indicate tack direction, and the text printed on the side of the carpet tack should be oriented as it is in the above diagram, pointing away from the center of the frame.
**Cloth should be very tight on the frame. If it doesn’t “stick” to the carpet tack, make sure the points of the tack are facing away from the center. If they aren’t, unscrew and rotate the frame sides so they do.